

How to Connect an Electric Bike Controller: A Safe Guide
Learning how to connect electric bike controller wiring starts with an important limit: there is no universal plug-and-play diagram. Controller systems vary by bike, motor, battery, display, and harness. Identify the exact components and find their manufacturer’s wiring information before touching a connector. If anything is damaged, unclear, or electrically live, stop and seek qualified help.
Ask about electric bike service
How to connect electric bike controller wiring safely?
Match the exact controller to its compatible motor, battery, display, and harness using the model-specific service diagram. Power down and disconnect the battery as the manufacturer directs, document existing connections, and inspect the plugs before proceeding. Never match wires by color alone: color and connector shape do not prove compatible voltage, pinout, or signal.
A controller coordinates power and signals among several e-bike components. A wrong connection can damage parts or create a short circuit. The safe answer is not “join the same colors.” It is to confirm compatibility, follow the documentation for that particular system, and avoid improvising when documentation is incomplete.
What should you identify before connecting an electric bike controller?
Collect the bicycle make and model, controller part number, motor type, battery rating listed by the manufacturer, display model, and any harness or connector identifiers. Photograph the existing setup from several angles before disturbing it. That record can distinguish original connections from a previous repair or modification.
- Controller: Find its model or part number, revision if listed, and wiring diagram. A label on the housing may be more useful than a seller’s generic description.
- Battery: Confirm the system rating from its label and documentation. Do not infer compatibility because a plug fits, and do not open a battery pack to inspect wiring.
- Motor: Identify whether it is a hub or mid-drive system and whether the controller is designed for that motor, its sensor arrangement, and its operating requirements.
- Display and controls: Check that the display, throttle, brake cutoffs, and pedal-assist controls are supported by the same system. Some parts communicate through manufacturer-specific protocols.
- Harness: Look for damaged insulation, corrosion, bent pins, loose terminals, heat marks, or a connector that has been altered.
Write down what you know and what remains uncertain. “It is a 48-volt controller” is not enough information to establish fit. You also need the system generation, wiring arrangement, supported motor, and matching controls. If you are choosing a complete bike rather than repairing one, compare the electric bicycle selection as a complete supported system rather than shopping by one electrical rating.
How should you prepare the bike and work area?
Start with the manufacturer’s service instructions. Work in a dry, well-lit place with the bike stable and the key or power switch off. Remove jewelry that could bridge contacts. Keep loose metal and tools away from exposed terminals. If the battery is removable, follow the maker’s procedure for removing and storing it before inspection. Do not assume that switching off a display makes every circuit safe.
- Record the bike and component model information, including controller and display labels.
- Photograph the wiring and connector positions from multiple angles. Include enough context to see which leads belong to which component.
- Read the manufacturer’s shutdown and battery-disconnection instructions. If those instructions are unavailable, do not guess at a safe sequence.
- Inspect the visible harness without pulling on cables. Stop for melted insulation, exposed conductors, corrosion, heat damage, or a swollen or damaged battery.
- Compare each connection with the correct diagram and verify that every component is intended to work with the system.
Do not probe a live circuit or make improvised connections to test a component. Avoid cutting, splicing, or bypassing a lead unless the manufacturer’s procedure explicitly calls for it and you have the correct tools and skills. A change can affect the motor, brake cutoff, lighting, display, or other functions. Federal consumer product safety information emphasizes safe use of e-bike batteries and equipment; see the U.S. Consumer Product Safety Commission’s e-bike safety information at CPSC micromobility device safety guidance. This general safety resource is not a wiring diagram and does not replace the bike maker’s instructions.
Which controller connections may be present?
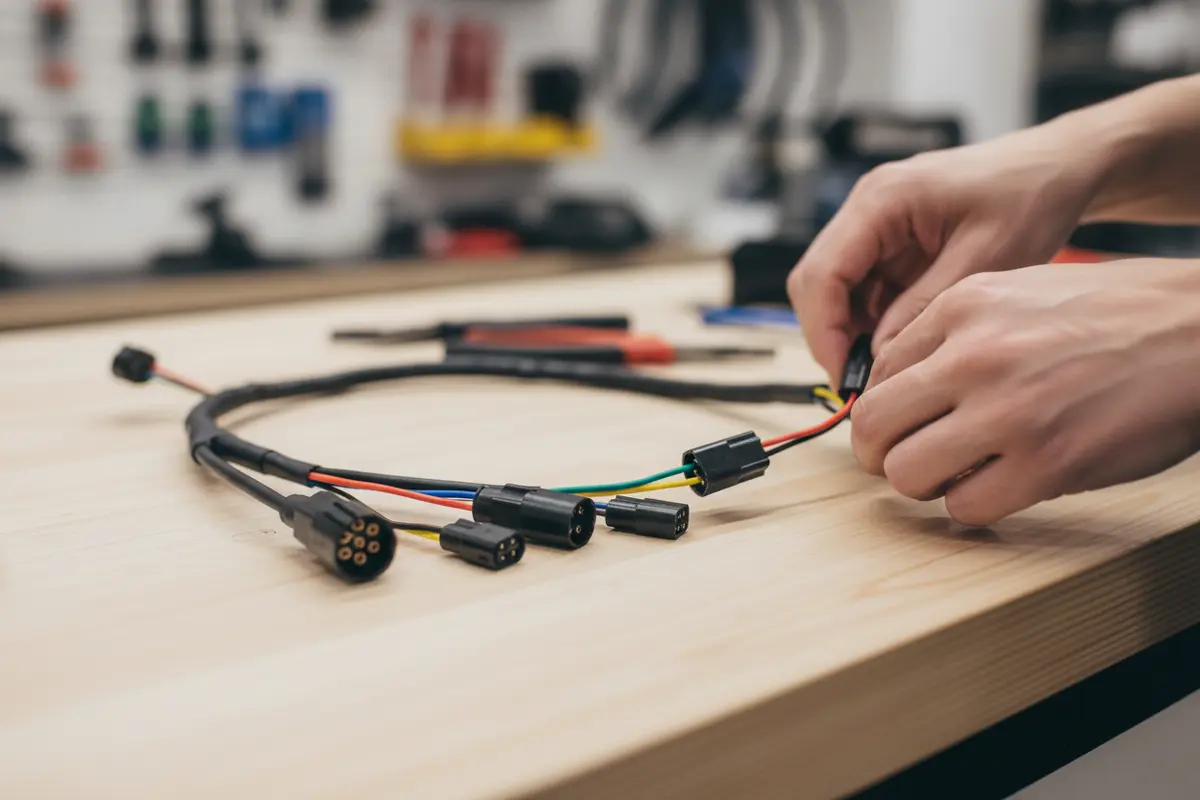
Systems differ, but a harness may include battery power, motor phase leads, motor sensor leads, a display connection, pedal-assist sensor, throttle, brake cutoffs, and lighting or accessory outputs. Some systems combine functions in a multipin plug; others use separate leads. These descriptions are categories, not a pinout for your bike.
| Connection group | General role | What you must confirm |
|---|---|---|
| Battery input | Supplies power between battery and controller | Approved voltage, polarity, connector, and shutdown procedure in the maker’s documentation |
| Motor leads | Connects controller and hub or mid-drive motor | Exact motor/controller compatibility and documented phase or sensor arrangement |
| Display and controls | Links display, assist controls, or throttle | System generation, pinout, communication, and supported functions |
| Brake and accessory leads | Connects brake cutoffs, lights, or other components | Correct designated port and safe operation after service |
| Pedal-assist sensor | Provides assist input to the controller | Sensor type, connector assignment, and compatibility with the controller |
A plug that physically fits is not proof that its pins carry the same signals. Never force a connector. Colors may differ between makers or product revisions, and a connector can be mechanically similar while carrying a different signal. A correct service diagram and the component identifiers are more useful than a generic wiring picture.
How can you use a wiring diagram without guessing?
A diagram is useful only when it applies to the exact system revision. Confirm the diagram’s model names and revision identifiers against your bike and replacement parts. Do not assume a diagram for a visually similar controller applies to yours. If the document is unclear, ask the manufacturer or a qualified service professional to identify the correct version.
Make a simple connection inventory before any work: list each component, the label on its lead, the matching diagram reference, and whether compatibility is confirmed. Mark unknowns as unknown rather than filling gaps with assumptions. This avoids a common failure mode in which someone remembers a connector’s former position incorrectly or relies on a photograph that does not show a prior modification.
- Confirmed: The part number and diagram match, the connector is undamaged, and the manufacturer identifies the parts as compatible.
- Unconfirmed: A label is missing, the diagram is for a different revision, or the wiring has been changed. Pause here and get authoritative identification.
- Unsafe to continue: There are exposed conductors, signs of heat or liquid damage, a damaged battery, or a connection that would require force or trial and error.
This process does not ask you to infer which pin carries power or to test voltage. It is a decision check: proceed only as the maker directs when the exact part and connection are established. A diagram that does not cover a connector is a reason to stop, not a reason to experiment.
What common mistakes should you avoid?
- Guessing from wire color: Similar colors can serve different functions on different systems.
- Swapping plugs until something works: Trial and error can damage a controller or another component.
- Mixing parts based only on nominal voltage: Voltage is one compatibility factor, not a complete system match.
- Pulling on wires: Handle the connector body as the maker instructs rather than tugging the cable and loosening a terminal.
- Ignoring safety circuits: Brake cutoffs and related controls can be integral to expected operation.
- Powering up with exposed conductors: Secure and inspect connections as directed before restoring power.
- Assuming an error code identifies a bad controller: A code or symptom may involve another component or connection; use the maker’s diagnostic process.
After work performed according to an approved procedure, follow the manufacturer’s commissioning checks. If the bike behaves unexpectedly, makes unusual sounds, displays a fault, or wiring becomes warm, switch it off and discontinue use. Do not keep cycling power to clear a fault. Record what happened and what changed before the issue appeared; that information is useful for diagnosis.
How do you decide whether to continue or stop?
Use the following practical decision sequence rather than trying to finish the repair at all costs. First, ask whether you have the exact diagram and parts identification. Second, check whether every connector and conductor is visibly sound. Third, determine whether the documented procedure is within your experience and tools. If any answer is no, stop and seek help.
For example, if a connector was unplugged during routine service and the manual clearly identifies it, the plug is undamaged, and the prescribed reconnection is straightforward, follow the manual and its inspection steps. By contrast, if a replacement controller has a plug that fits but its part number or pinout is undocumented, do not try it briefly to see whether the display turns on. If a wire is cut or the harness has been spliced, a photograph and color match still do not establish that the repair is safe.
Likewise, if a brake cutoff lead is disconnected, do not treat that as an optional accessory simply because the wheel turns. Restore the system only according to the specified procedure and verify the controls as directed. If you cannot confirm their operation, do not ride the bike until it has been checked.
When is professional electric bike controller service the better choice?
Professional diagnosis is prudent when the diagram is missing, the controller or harness has been modified, wires are damaged, a battery connection is uncertain, or the bike displays a persistent fault. It is also the safer route if you cannot verify compatibility or lack the tools and experience to inspect electrical connections.
When requesting guidance, share the bike make and model, controller and display identifiers, a concise description of symptoms, and what changed immediately before the problem began. Include clear photographs of labels and the original wiring if available. Avoid sending only a close-up of one plug: an overview helps a technician understand which part of the system it belongs to.
Voltaire Cycles of Central Oregon provides multi-brand electric bike service and repairs. The all-brand repair and service page is a relevant place to review service information. A technician can help determine whether the next step is inspection, repair, or identifying a compatible replacement; this article does not promise that a particular part can be repaired or that every system is supported.
If you are selecting an e-bike rather than repairing one, hands-on evaluation can help you consider the complete system, fit, and support before purchase. Browse the available electric bikes and consider a showroom visit or test ride when practical. A complete-bike decision avoids treating a controller as an interchangeable standalone component.
Frequently asked questions
Can I connect an electric bike controller using wire colors?
No. Wire colors are not a universal pinout. Use the wiring diagram for the exact controller, motor, and bike system, and verify each connector against the manufacturer’s documentation.
Can I use any controller with the same voltage?
No. Voltage alone does not establish compatibility. Connector pinout, motor type, sensors, display, controls, and manufacturer-specific communication may also matter.
Should I disconnect the battery first?
Follow the bike manufacturer’s shutdown and battery-disconnection procedure before inspecting wiring. If you cannot identify a safe procedure or see battery damage, stop and seek professional help.
What information should I give a repair shop?
Provide the bike make and model, controller and display identifiers, symptoms, details of recent repairs or modifications, and photographs showing labels and the original wiring where available.
Get help with electric bike repairs
Choose a safe, supportable path
Controller wiring is specific to the bike and its electrical system, so careful identification matters more than a generic color chart. Use manufacturer documentation, avoid guesswork, and ask an experienced service professional when compatibility or wiring is uncertain.